Studio Setup 101 – A Comprehensive Guide to Setting Up Your Recording Studio
Setting up a recording studio can be a daunting task, especially for those who are new to the world of music production. With so many different components and options to choose from, it’s easy to become overwhelmed. This comprehensive guide is designed to help you navigate the process of setting up your recording studio by detailing the essential equipment and providing tips to optimise your space for high-quality recordings.
Finding the Perfect Space
Before you start purchasing equipment, it’s crucial to find an appropriate space for your studio. Ideally, the room should be large enough to accommodate your gear and leave enough space for you to move around comfortably. The room should also be well-isolated to minimize noise pollution and ensure accurate sound reproduction. Look for a space with minimal background noise and echo, as well as one with good acoustic properties, such as a room with irregular walls or ceilings.
Acoustic Treatment
Once you’ve chosen your space, it’s essential to optimize the room acoustics. This process involves using various materials and techniques to control sound reflections and minimize unwanted noise. Some key acoustic treatments include:
a. Bass Traps: These are devices designed to absorb low-frequency sound, helping to balance the room’s overall frequency response. They are typically placed in corners where bass tends to accumulate.
b. Acoustic Panels: These are used to absorb mid and high-frequency reflections, which can cause comb filtering and degrade the sound quality. Place them strategically on walls and ceilings to minimize reflections.
c. Diffusers: These help scatter sound waves, creating a more even distribution of sound throughout the room. Install them on walls and ceilings to improve the overall sound quality.
Selecting Essential Equipment
With the room acoustics under control, it’s time to choose the right gear for your studio. While the specific equipment you need may vary depending on your goals, the following are essential components for any recording studio:
a. Microphones: Invest in high-quality microphones to capture the best possible sound. A condenser microphone is ideal for vocals and acoustic instruments, while a dynamic microphone is suitable for loud sources like drums and guitar amplifiers. A ribbon microphone can provide a warm, vintage sound for specific applications.
b. Audio Interface: This device connects your microphones, instruments, and other audio sources to your computer. Look for an interface with low latency, multiple inputs and outputs, and high-quality preamps to ensure clean, reliable recordings.
c. Digital Audio Workstation (DAW): This software is the backbone of your studio, allowing you to record, edit, and mix your music. There are many DAWs available, each with its strengths and weaknesses. Some popular options include Pro Tools, Logic Pro, Ableton Live, and FL Studio.
d. Studio Monitors: Accurate monitoring is critical for making informed decisions during the mixing process. Invest in high-quality studio monitors that provide a flat frequency response and are suitable for your room size.
e. Headphones: A good pair of headphones is essential for tracking and mixing, especially when recording in the same room as your instruments. Look for closed-back headphones to minimize sound leakage and open-back headphones for a more natural listening experience during mixing.
Arranging Your Studio
Once you have all your equipment, it’s time to arrange your studio for optimal workflow and sound quality. Consider the following tips:
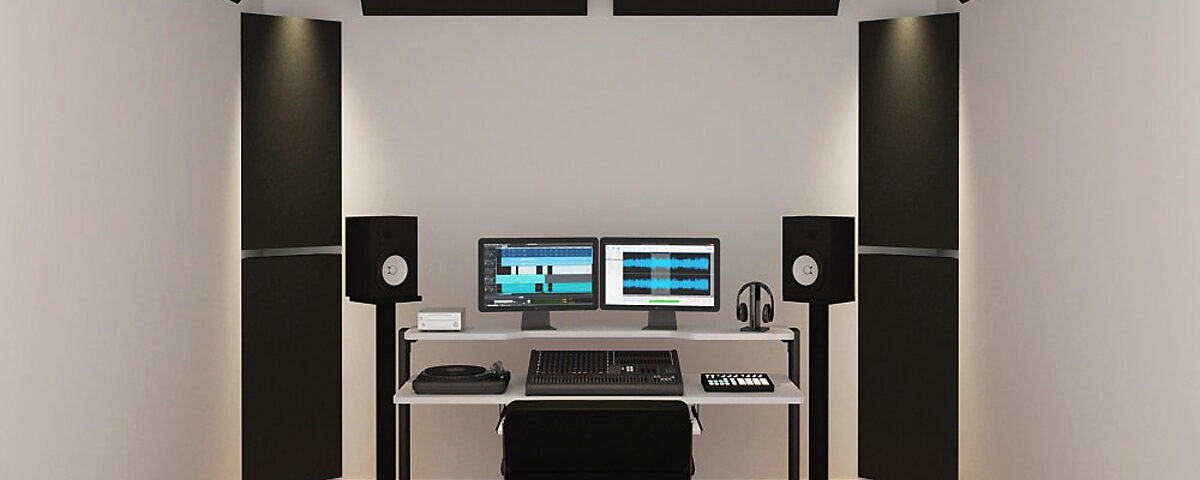
a. Position your studio monitors at ear level, forming an equilateral triangle with your listening position. This will help ensure accurate stereo imaging and frequency response.
b. Place your audio interface, DAW controller, and other essential gear within easy reach, allowing you to work efficiently and comfortably.
c. Set up a dedicated recording area for tracking vocals and instruments. Ensure that this area is acoustically treated to minimize reflections and noise. If possible, separate the recording area from the control area with a partition or glass window to minimize sound leakage.
d. Organise your cables and connections to avoid clutter and tangled wires. Use cable management solutions such as cable ties, velcro straps, or cable organizers to keep your space neat and tidy.
e. Create an ergonomic workspace by adjusting the height of your desk, chair, and studio monitors to promote good posture and minimise fatigue during long recording sessions.
Testing and Calibration
After setting up your studio, it’s essential to test and calibrate your equipment to ensure optimal performance. Some key steps include:
a. Test each microphone, cable, and audio input/output to ensure they are functioning correctly. Troubleshoot and replace any faulty equipment as necessary.
b. Calibrate your studio monitors to ensure a balanced and accurate listening environment. Use a sound level meter and pink noise to set the volume of each monitor at the same level. Additionally, you may use room correction software to further optimize the frequency response of your monitors.
c. Familiarize yourself with your DAW and its features. Spend time exploring the software’s capabilities and learning its shortcuts to improve your workflow and efficiency.
Additional Considerations
As you gain experience with your studio setup, you may want to invest in additional equipment to enhance your recordings further:
a. Outboard Gear: External processors such as compressors, equalizers, and reverbs can add warmth, character, and depth to your recordings. While many DAWs include built-in plugins that emulate these effects, some producers prefer the sound of hardware processors.
b. MIDI Controllers: These devices can help you create and control virtual instruments within your DAW, allowing for more expressive and dynamic performances.
c. Acoustic Instruments: Adding a variety of instruments to your studio can inspire new creative ideas and expand your sonic palette.
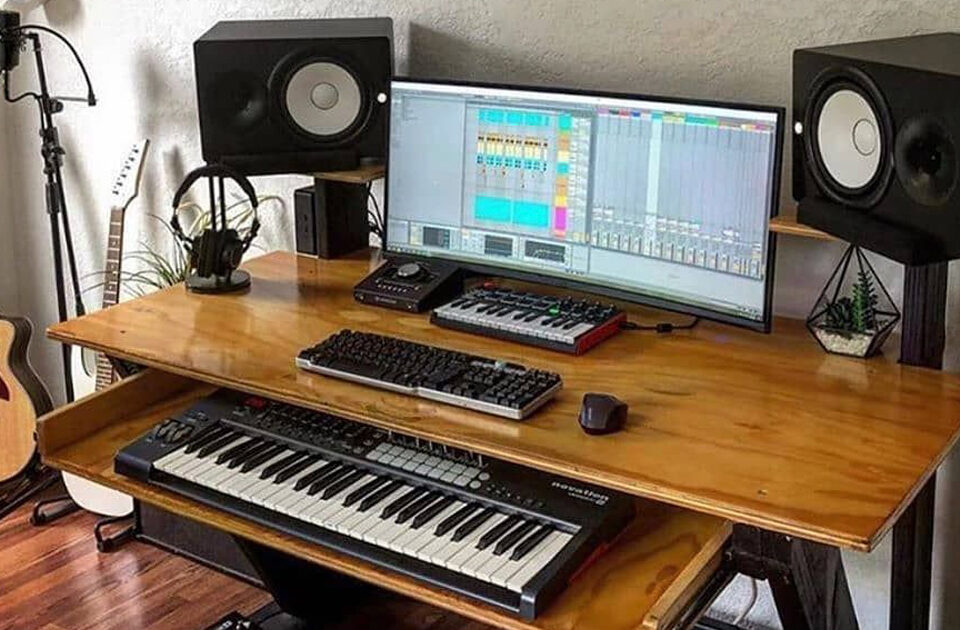
d. Studio Furniture: Investing in high-quality studio furniture such as desks, monitor stands, and microphone stands can improve your workflow and comfort.
Summary
Setting up a recording studio can be a complex and time-consuming process. However, by carefully selecting and arranging your equipment, optimising your room acoustics, and continuously refining your skills, you can create a professional recording environment that allows you to produce high-quality music. Remember, the key to success is patience, persistence, and a passion for learning and improving.


