Microphone Placement – Capturing High-Quality Audio
Microphone placement is an often overlooked yet crucial aspect of audio recording. It plays a significant role in capturing high-quality sound, whether it’s for musical instruments, vocals, or other recording scenarios. Understanding different microphone placement techniques can greatly enhance the clarity, depth, and overall fidelity of the recorded audio.
When it comes to microphone placement, there is no one-size-fits-all approach. The choice of technique depends on several factors, including the instrument or source being recorded, the desired sound, the acoustic environment, and the recording scenario. In this article, we will explore various techniques for microphone placement and their applications in different recording situations.
Close Miking
Close miking involves placing the microphone close to the sound source to capture a direct and focused sound. This technique is commonly used in studio recordings, live performances, and sound reinforcement scenarios. By positioning the microphone near the source, you can capture more of the direct sound and minimize the impact of room reflections.
For vocals, close miking is often done with a dynamic or condenser microphone positioned around 6 to 12 inches away from the singer’s mouth. This allows for capturing intimate and detailed vocal performances while reducing unwanted background noise. It’s important to use pop filters to prevent plosive sounds and to maintain consistent mic distance for a balanced sound.
When close miking instruments, the microphone placement varies depending on the instrument type. For example, when miking a guitar amplifier, placing the microphone close to the speaker cone can capture the full range of frequencies and the nuances of the amp’s tone. Similarly, for drums, individual close miking of each drum and cymbal can provide greater control during the mixdown process.
Stereo Miking
Stereo miking involves using two or more microphones to create a sense of space and depth in the recorded sound. This technique is commonly used for capturing live performances, choirs, orchestras, and ambient recordings. Stereo miking can provide a more immersive listening experience by reproducing the natural stereo image of the sound source.
One popular stereo miking technique is the X/Y configuration, where two microphones are placed close together with their capsules aligned at a 90-degree angle. This technique captures a well-defined stereo image with a strong center focus. Another technique is the ORTF (Office de Radiodiffusion Télévision Française) configuration, which uses two microphones spaced at a specific angle to simulate the human ear’s perception of stereo sound.
Room Miking
Room miking involves placing microphones further away from the sound source to capture the natural ambience and reverberation of the recording environment. This technique is commonly used in live recordings, orchestral recordings, and to add depth and spaciousness to individual instruments or vocals.
In room miking, the microphones are strategically positioned to capture a balanced blend of the direct sound and the room reflections. Placing microphones at a distance from the source allows for capturing the sound as it interacts with the space, giving the recording a more authentic and natural feel. Experimentation with microphone placement and the room’s characteristics can yield different sonic results, allowing for creative and unique recordings.
Instrument-Specific Techniques
Different instruments require specific microphone placement techniques to capture their unique characteristics accurately. Here are a few examples:
– Piano: Placing a stereo pair of microphones above or inside the piano can capture the instrument’s full range, while individual miking of the hammers or strings can highlight specific tonal qualities.
– Acoustic Guitar: Positioning a microphone around the 12th fret of the guitar captures a balanced representation of the instrument, while miking closer to the soundhole emphasizes the bass frequencies.
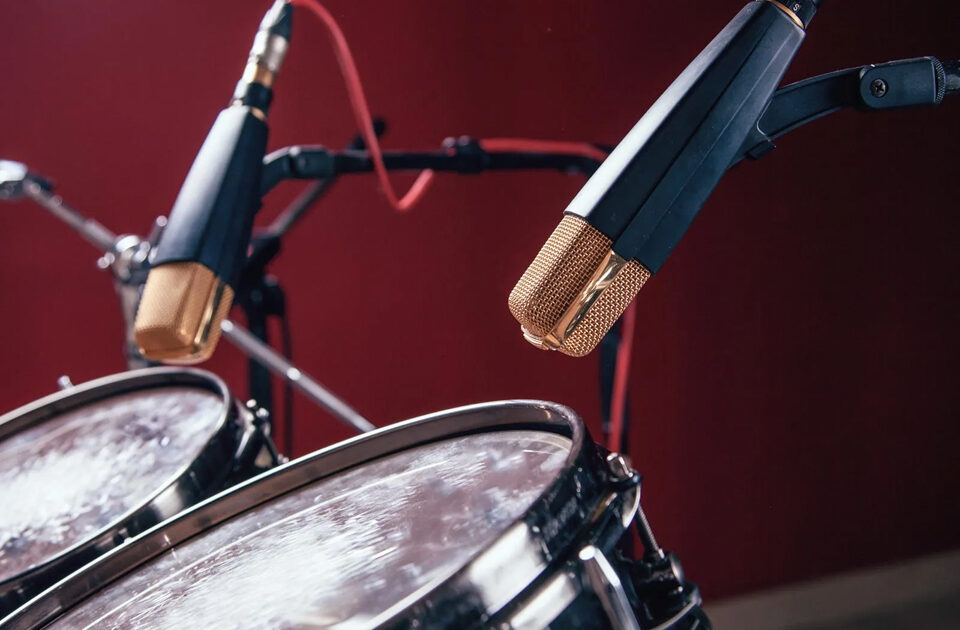
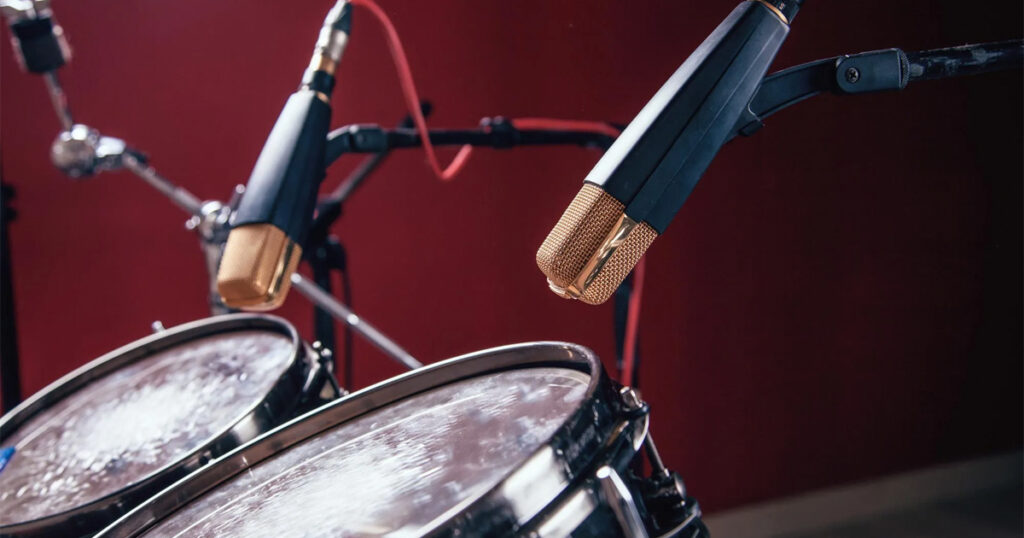
– Drums: Close miking individual drums and cymbals provides greater control during mixing. Overhead microphones can capture the overall drum kit sound, while room microphones add depth and ambiance.
– Brass and Woodwind Instruments: Placing microphones a few feet away from the instruments can capture the full tonal characteristics while minimising breath noise and key clicks.
It’s important to note that these instrument-specific techniques serve as general starting points. Fine-tuning the microphone placement based on the specific sound desired, the acoustics of the recording space, and the individual instrument’s unique characteristics is crucial to achieving the best results.
To summarise, microphone placement is a critical aspect of audio recording that significantly impacts the quality and fidelity of the captured sound. Whether it’s close miking for direct and focused recordings, stereo miking for immersive soundscapes, or room miking to capture natural ambience, understanding and experimenting with different techniques is essential for audio engineers and enthusiasts alike. By mastering microphone placement, one can unlock the true potential of their recordings, bringing out the best in every instrument, vocal performance, and recording scenario.